Kunnskapsbase:
Dele dokumenter for signering
28 Aug 2015 12:48

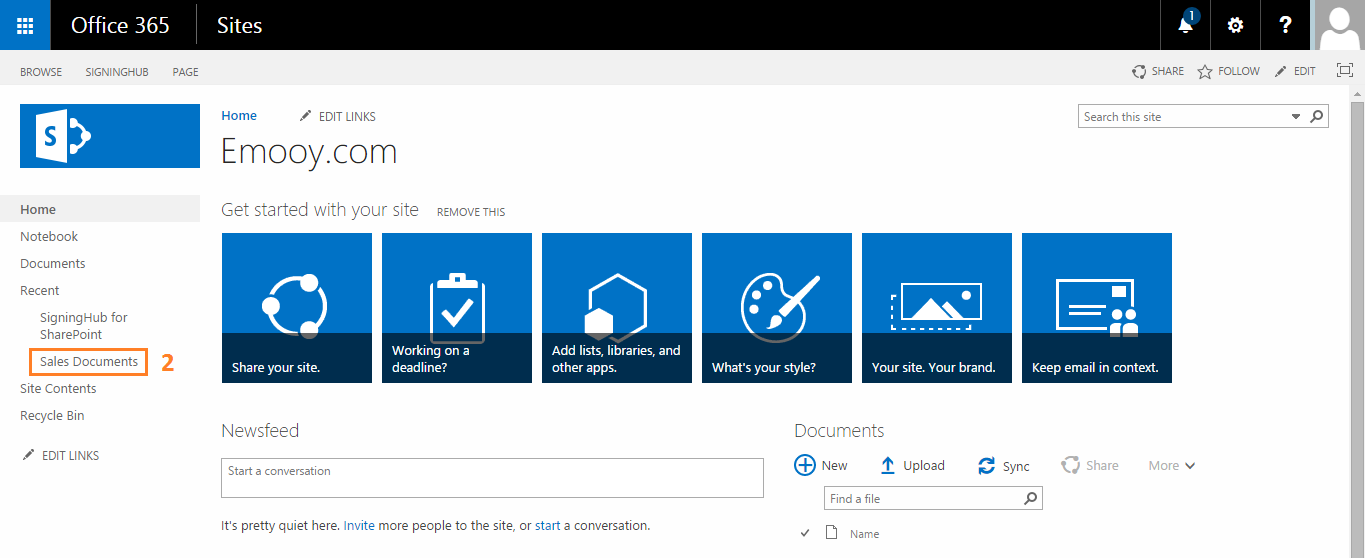
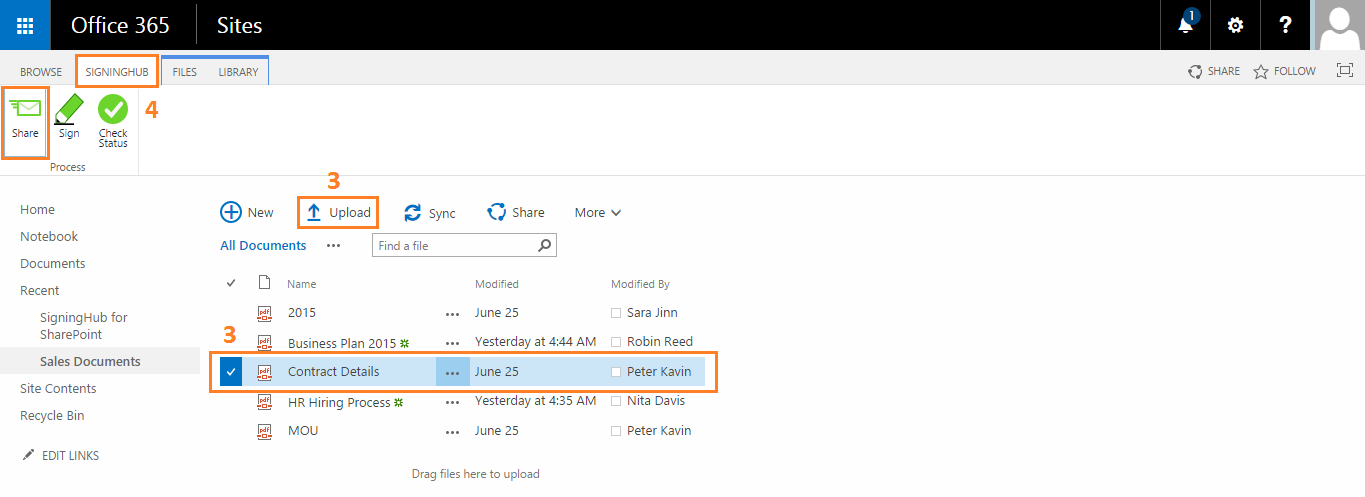
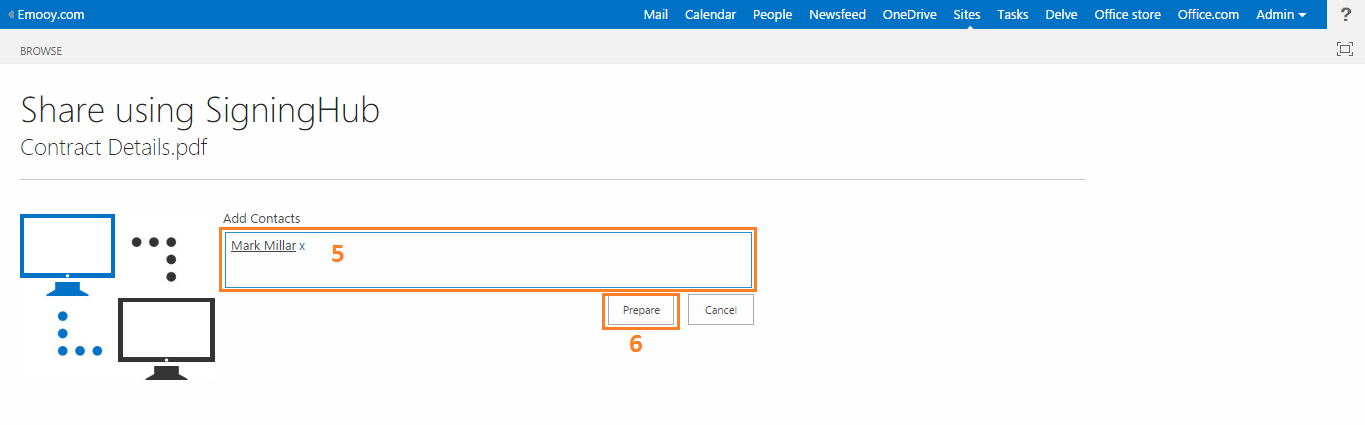
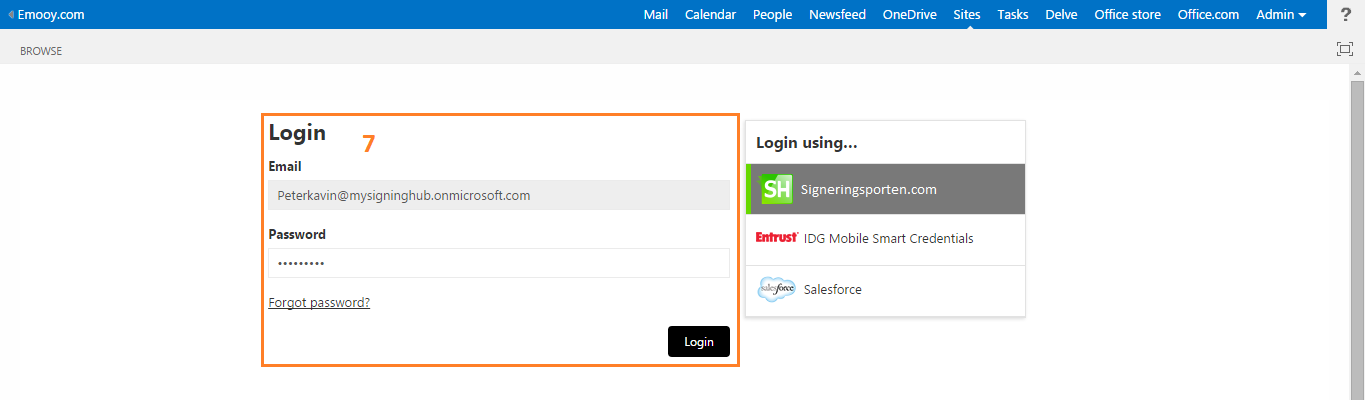
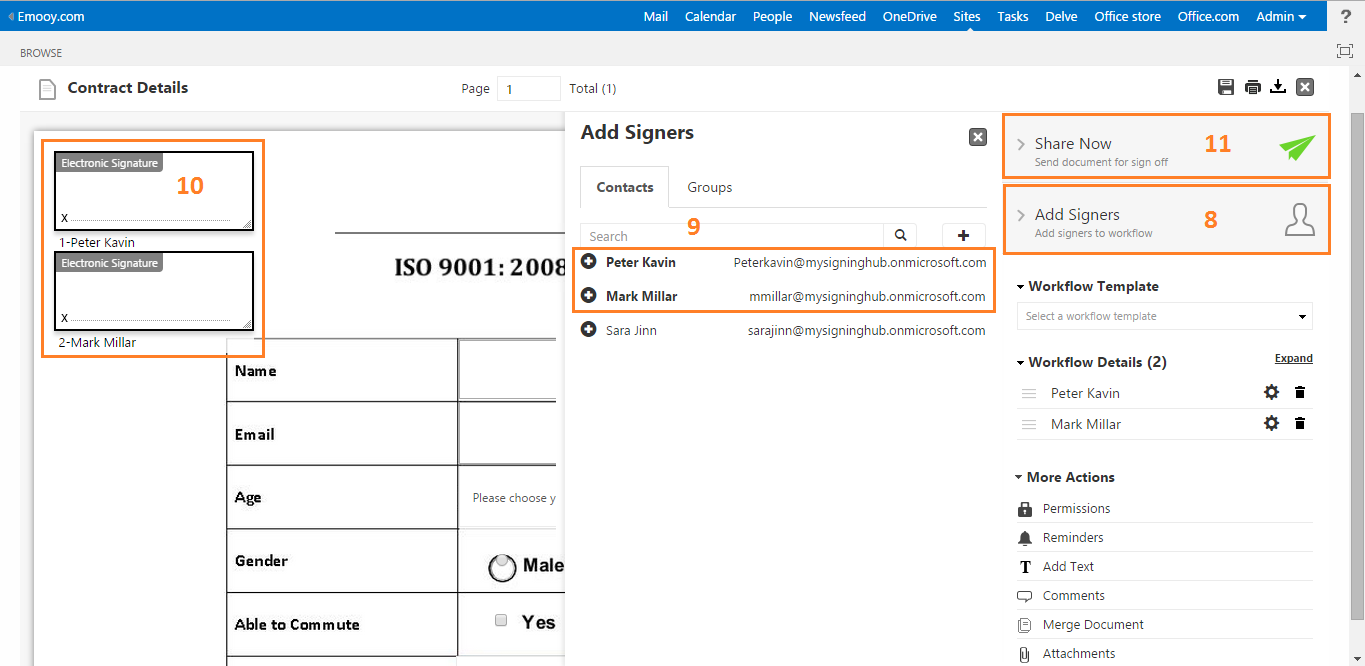
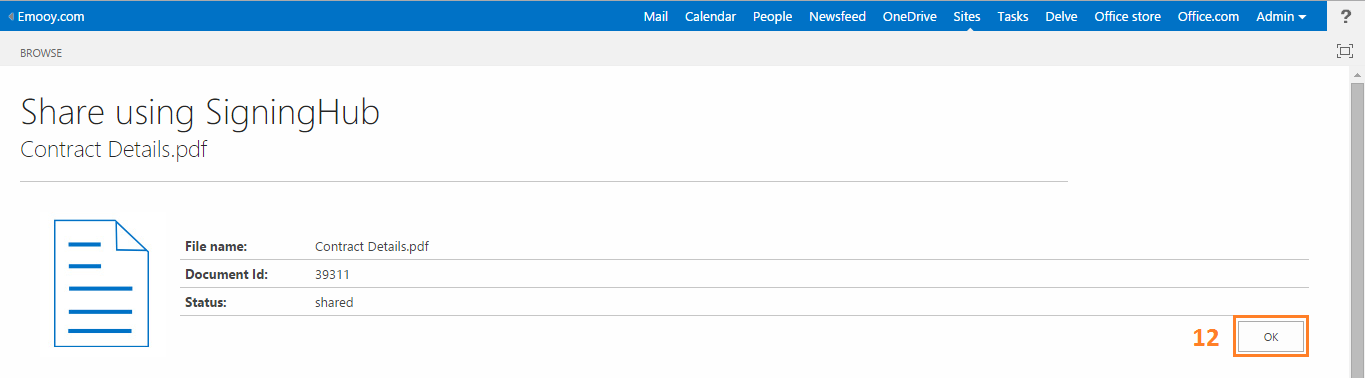
Sharing documents for signing

Our "SigningHub for SharePoint" app lets you share any type of document (i.e. Text, Office, Image, PDF, etc.) from your SharePoint account with other users, to get them digitally signed. In this regard, if the document (being shared) is other than PDF, then Signeringsporten will convert it into PDF format before sharing with other users/ signers. The recipient user(s)/ signer(s) will be notified through email(s) by Signeringsporten upon their turn, and they will be able to see the shared document in the same document library of their Signeringsporten account, and can sign it.  

To share your document for signing from SharePoint,

  1. Browse the SharePoint site link (as provided by your SharePoint admin) and log into your SharePoint account.
  2. Click the desired document library whose document is required to share.Dele dokumenter for signering
  3. Click the "Upload" button to upload a new document (to share) and select it, or select an existing document from the documents list.
  4. Click the "SigningHub" tab and click the "Share" option.Dele dokumenter for signering
  5. In the next appearing screen, specify your SharePoint contact name(s) with whom document is required to share. 
    The specified contacts will be added in your Signeringsporten contacts list, from where they can be selected as signers.
  6. Click the "Prepare" button. 
    You can configure the entire workflow of a document, i.e. adding reviewers, adding initials, adding in-person signatures, configuring group signing, certifying document and much more in Signeringsporten , see details.
    Dele dokumenter for signering
  7. The authentication screen of SigningHub will appear within SharePoint, specify your credentials to authenticate yourself.
    After successful authentication, the selected document will be opened inside SigningHub in preparation mode.Dele dokumenter for signering
  8. Click the "Add Signers" option.
  9. The "Add Signers" panel will appear, listing your Signeringsporten and SharePoint contacts (added in step 5 above). Select the required signer(s) from the list.
  10. The signature fields of added signers will be displayed on the document, drag and drop it anywhere in the document by using mouse. Also use the bottom right corner to re-size the fields as required. You can also set other workflow related configurations of the document before sharing it for sign off. 
  11. Once you are done with adding the signers, click the "Share Now" option to send the document.
    The document will be shared with the selected user(s).Dele dokumenter for signering
  12. A confirmation screen will be displayed, showing the file name, document id and performed action. Click OK.Dele dokumenter for signering
  13. The shared document can be seen with the "In-Progress" status, inside the "Check Status" screen.


© 2021 Commfides Norge AS
Postboks 405, 1327 Lysaker
Fornebuveien 1, 1366 Lysaker
Telefon +47 21 55 62 60
servicedesk@commfides.com